
Turning a single photograph into a moving scene used to require a compositor and a full day in post-production. Kling AI, the creative studio developed by Kuaishou, compresses that process into a browser tab. The platform's Kling 3.0 model series introduced the world's first native 4K AI video model, which means the motion you get from a still image is not upscaled - it is generated at that resolution from the start. That distinction matters if you are producing assets for broadcast, large-format display, or any context where compression artefacts are unacceptable.
What the image-to-video feature actually does
When you upload a still to Kling AI, the model analyses the spatial composition of the image - depth cues, lighting direction, subject positioning - and builds a short clip in which those elements animate in a physically plausible way. A portrait subject might turn their head slightly. A landscape might have grass ripple or clouds shift. The Kling 3.0 VIDEO model uses multimodal instruction parsing, so you can add a short text prompt alongside your image to guide the motion: "gentle camera push-in" or "subject looks up toward the light" are the kind of instructions the model interprets with reasonable fidelity.
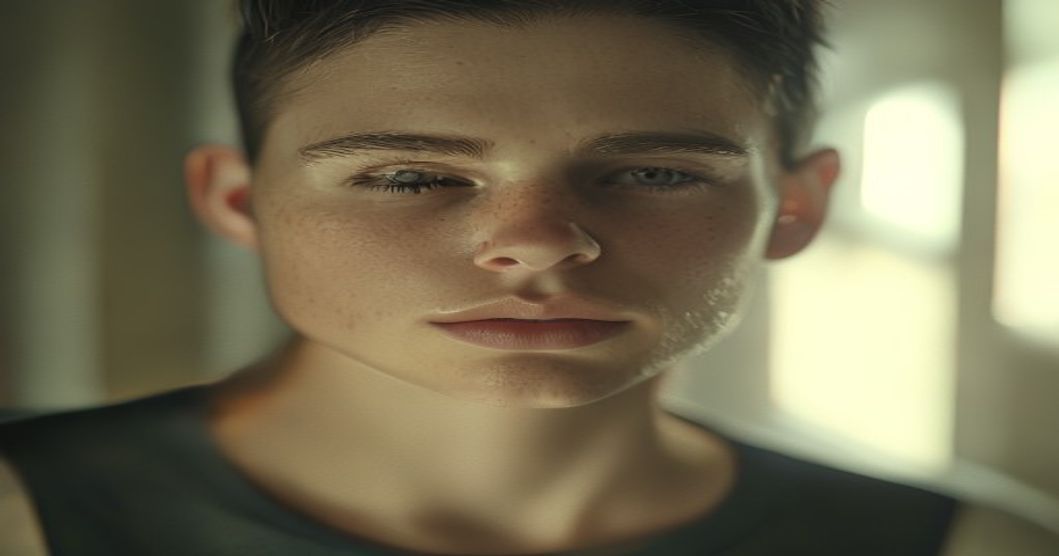
This is meaningfully different from simply adding a Ken Burns pan to a JPEG. The model generates new pixel information rather than just panning or zooming across existing ones. That is why output quality depends heavily on the clarity and resolution of your source image - a sharp, well-lit photograph gives the model more spatial information to work with.
Step by step: generating your first clip
Sign in to your Kling AI account at klingai.co.uk and navigate to the image-to-video section of the creative studio. If you do not yet have an account, the sign-up process is straightforward - you register directly on the website to access the full tool suite.
Once you are inside the studio, the workflow follows a consistent pattern. Upload your source image using the file picker or by dragging it directly onto the canvas. JPEG and PNG are both supported. After the image loads, you will see a prompt field beneath it. Write a short motion instruction here - keep it under 20 words and be specific about camera movement or subject behaviour rather than mood. Vague prompts like "make it cinematic" produce less consistent results than directional ones like "slow zoom toward the subject's face".
Select your output resolution and clip duration before submitting. The free tier gives you access to shorter durations at standard resolution. If you need native 4K output or longer clips, those options are available on paid plans - you can review what each tier includes on the free plan explained page. Once you confirm your settings, the model queues your generation. Most standard-resolution clips complete in under two minutes, though peak usage periods can extend that.
When the clip is ready you will find it in your project library. Download it directly or use the share options to send it to a collaborator. The platform does not add a watermark on the free tier, which removes a common friction point for creators who want to test output quality before committing to a subscription.
Getting the most from your source image
The quality of your output is constrained by the quality of your input. A low-resolution or heavily compressed image gives the model less to work with, and the resulting clip will show it - blurred edges, inconsistent lighting behaviour, or motion that feels disconnected from the scene's spatial logic.
Three practical habits improve results consistently. First, use images where the subject is clearly separated from the background, either through natural depth of field or a clean contrast edge. Second, avoid images with extreme motion blur already present - the model can misread blur as intended depth cues. Third, crop tightly to the element you want animated before uploading. If you want a face to turn, make the face the dominant element in the frame rather than a small part of a wide shot.
The motion brush tool, one of Kling AI's key features, lets you paint regions of the image and assign specific motion directions to each. This is particularly useful for scenes with multiple subjects where you want different elements to move differently - a tree swaying while a figure remains still, for example. Spending a few minutes with the motion brush before submitting often produces more intentional results than relying entirely on the model's inference.
Alignment between intent and output
Early in January, I ran a workshop with a SaaS product team in London. I asked each person to write down, independently, what they believed their product's core value was. Twelve people in the room produced nine different answers. The exercise was not designed to be embarrassing - it was designed to surface an alignment problem that was quietly undermining every piece of content and every customer conversation the team was having. The same dynamic shows up when teams start using AI video tools without a clear brief. The model will generate something, but if the team has not agreed on what the motion should communicate - pace, mood, the direction a viewer's eye should travel - they end up iterating endlessly through variations that are technically competent but strategically incoherent. Building intentional clarity about what you want a clip to do before you touch the upload button is the kind of work that rarely makes it onto a sprint board but determines almost everything downstream.
This is not a limitation of Kling AI specifically. It applies to any generative tool. The platform's text prompt field is an invitation to be precise about intent, and the teams who treat it seriously get meaningfully better outputs than those who treat it as optional.
How image to video fits the broader Kling AI toolkit
Image to video is one modality within a larger creative studio. The same platform handles text-to-video generation, sound generation, lip sync, and avatar creation. For creators and developers who want to understand the full scope of what is available, the features overview gives a structured map of each tool. If you are starting from a prompt rather than a photograph, the text-to-video guide covers that workflow in detail.
For developers who need to integrate image-to-video generation into their own applications, Kling AI provides an API platform. The affiliate program, which offers 8% revshare on referred sales with a 42-day cookie window for web referrals, is an option for publishers and educators who recommend the tool to their audiences.
Teams producing high volumes of assets - social content agencies, e-commerce studios, broadcast production companies - tend to find that the API pathway delivers the most sustainable return. Rather than manually uploading images one at a time, they build pipelines where product photographs or editorial images move automatically into video generation queues. The 4K video generation guide covers the technical settings relevant to that kind of production-grade workflow.
Kling AI versus its main alternatives
Runway, Pika Labs, Stable Video Diffusion, and OpenAI Sora all offer image-to-video capabilities. Where Kling AI's Kling 3.0 series distinguishes itself is native 4K output - most competing models generate at lower resolutions and upscale, which introduces softness. The multimodal instruction parsing in Kling 3.0 also handles combined image-plus-text prompts more consistently than tools that treat the image and the text as separate inputs processed sequentially.
The free tier availability without watermarks is another meaningful difference. Pika Labs and Runway both restrict their free outputs in ways that make them unsuitable for client-facing previews. For creators who need to show stakeholders a working proof of concept before purchasing credits, that frictionless access to clean output is a practical advantage worth weighing carefully.
Comments
No comments yet.
Leave a comment
Your email will not be shown. Comments are reviewed before they appear.